snapshots from a soccer birthday party

Leave a comment

There are plenty of blogs out there that feature birthday parties with creative themes, amazing decorations, exquisite styling, and professional photos of the happy event. This isn’t one of them.

When I host a party, I’m usually so busy getting everything set up that I feel lucky to find a moment to take pictures before the guests arrive. So here are just a few very basic snapshots of the soccer-themed birthday party we hosted in our backyard to celebrate our happy six-year-old.

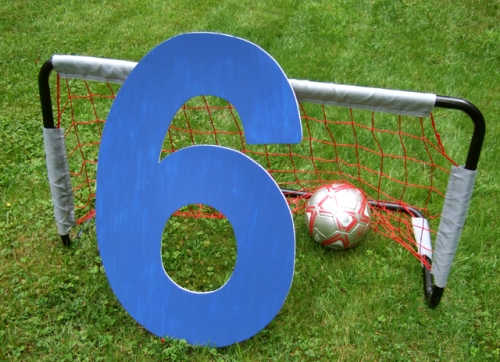
soccer birthday party with large number six

Doing a photoshoot with a giant number has become a tradition at our kids’ birthday parties. It only costs a couple bucks to make (I stock up on foam core at Michaels when it’s 50% off), and then we use the large number in their bedroom as a big, fun decoration until their next birthday rolls around. They love it and so do I.

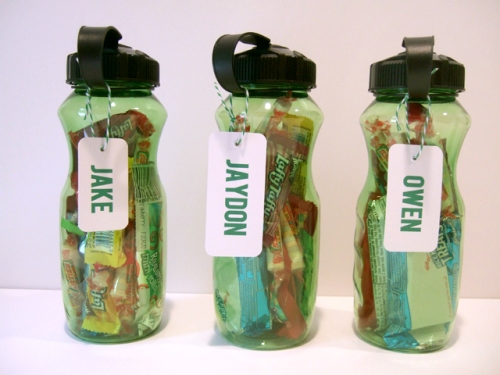
The kids always ask me to create a treasure hunt, so I made a photo-based treasure hunt for the gang of energetic little boys who are still learning to read. For the hidden treasure (which doubled as the party favor), I bought a reusable water bottle for each kid, filled it with sweet treats, and strung up a tag with each boy’s name on it so they didn’t accidentally eat each other’s Skittles.

soccer birthday party water bottle favors

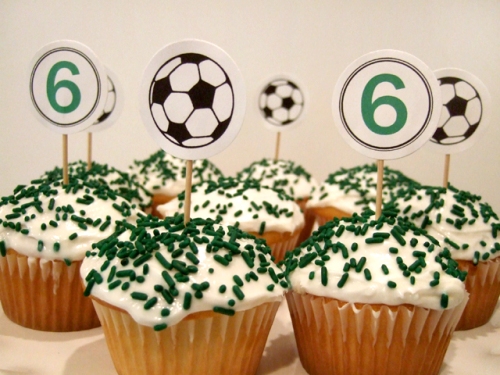
My favorite little detail for the party was the cupcake topper I created — and I was so proud of myself for planning ahead and making them a whole week before the party. Ha! I found a soccer ball graphic on the internet and designed a simple number six in a circle for the opposite side of the cupcake topper. Then I just cut them out with a circle punch and glued them together with a toothpick in between.

soccer birthday party cupcake toppers

Another summer, another round of family birthday parties complete!
a lovely outdoor summer wedding

Leave a comment

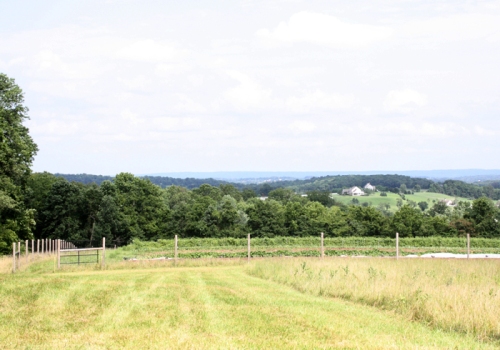
Our family enjoyed the most lovely outdoor wedding last weekend at a farm in the hills of New Jersey.

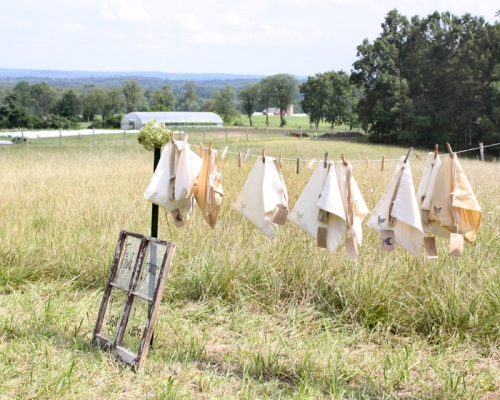
When we arrived, we were greeted by a clothesline full of handmade tote bags with treats for each family — trail mix, homemade fruit leather (strawberry rhubarb and apricot lavender!), kazoos for the ceremony recessional, and sparklers for the part of the festivities we missed because we have children who needed to get home to bed.

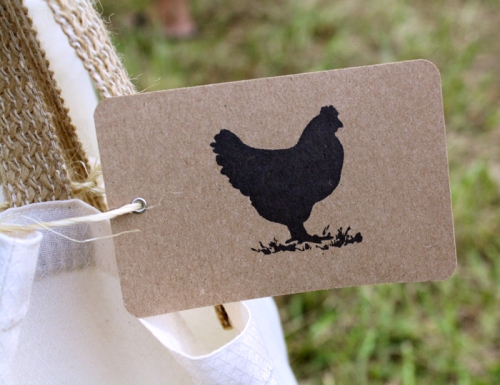
Each tote bag was stamped with a chicken and was strung up with a tag that featured the same motif and the names of the guests. I was especially eager to see the tote bags, because I made the tags… but when I gave them to the bride, they didn’t have any farm animals on them yet!

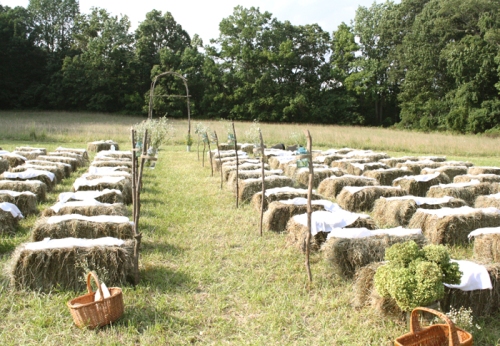
For the wedding ceremony, we sat on hay bales that were covered with white cloths. It was a warm summer afternoon, so there were baskets of woven fans available for all the guests.

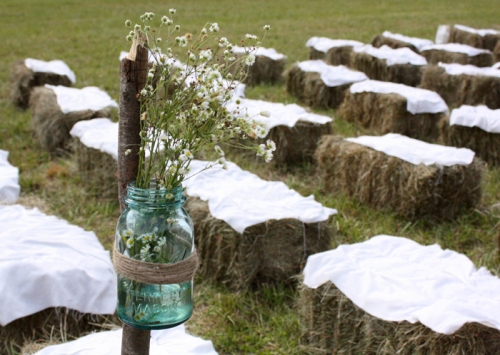
The aisle was lined with simple wildflower bouquets in blue mason jars tied to sticks with twine.

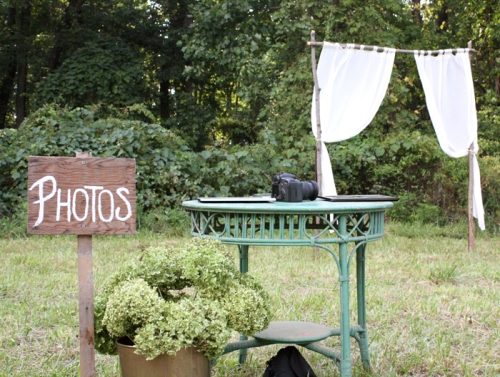
Between the ceremony and the reception, we made sure to visit the do-it-yourself photobooth. The white curtains and the woods made a lovely backdrop.

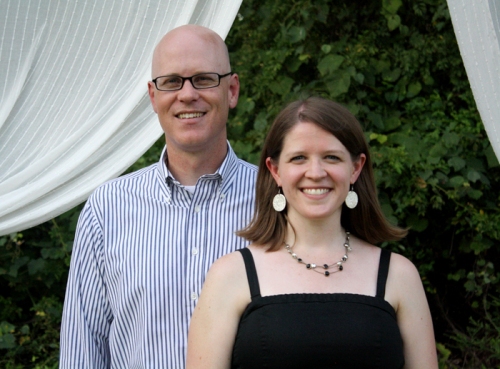
We used the camera provided, but also took some shots with my camera. Not pictured: our kids + my expanding baby bump.

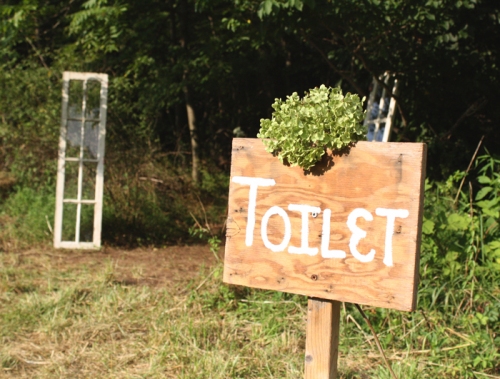
Most people don’t take pictures of the bathroom facilities at a wedding, but the setup was just too unusual not to share! As you may have noticed, the bride and groom planned a very green wedding… right down to the toilets. This sign greeted you at the edge of the meadow near the entrance to the woods.

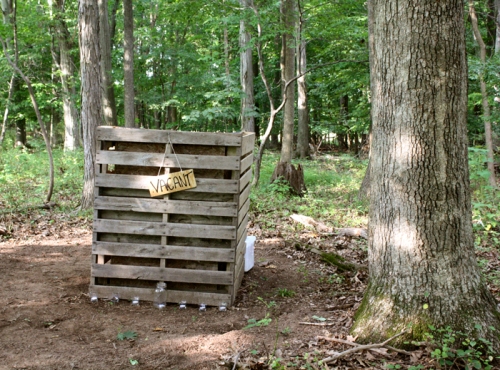
At the end of a short dirt path, guests could use one of two toilets. They were carefully angled away from guests and each other, because the third side of the toilet stall was completely open. It looks pretty primitive, but there was actually a regular toilet seat built in to the structure on top of some kind of container with wood shavings. It was much better than a port-a-potty (no smell! no icky door handle to touch! no claustrophobia!), but it was especially important to remember to flip that sign from vacant to occupied before entering.

In spite of the rain that fell during the reception (good thing we were under a tent!), it was a lovely day celebrating a lovely couple. Congrats, Ben and Ashley!

a purple birthday party

2 Comments

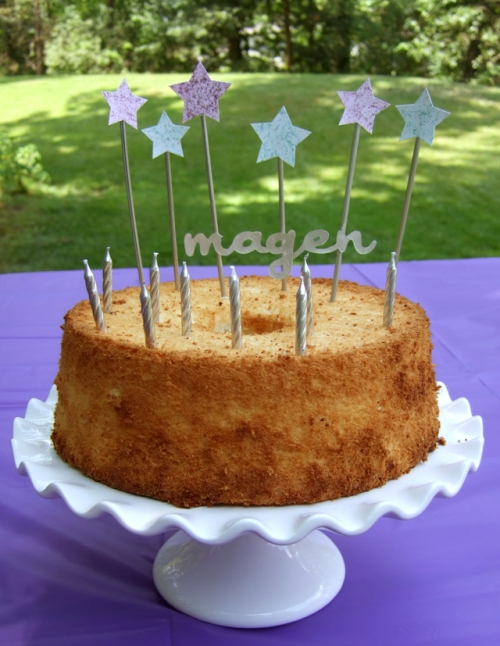
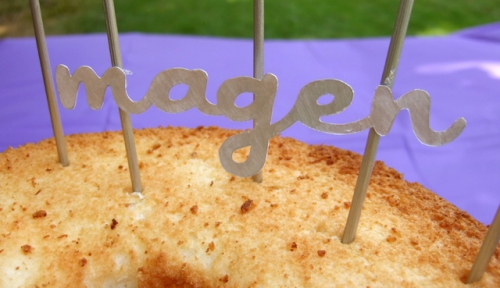
Stars, sparkles, and purple all came together for a fun birthday party for our sweet nine-year-old. Magen’s favorite cake is angel food, which means I didn’t have to attempt any fancy cake decorating (hooray!), but it did add the challenge of coming up with an interesting cake topper. Last year I just used tall spiral candles, but this year I made some sparkly stars with her name (which should have been higher up).

That’s not a custom metal topper — I just cut her name out of card stock with my X-Acto knife and painted it silver. (The font is Japan, which is a nice thick cursive font.)

Magen wanted to do some of the same activities this year that I had planned for her party last year, including a photoshoot with a giant number and a water balloon fight.

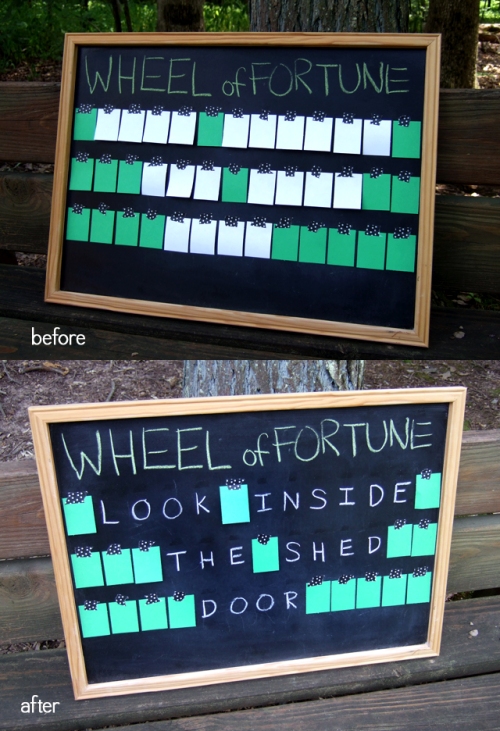
She also requested another treasure hunt, so this year I came up with various activities that would each reveal a clue about where to look for the next clue. It was somewhat complicated to get it all planned out, but also very fun. The girls played charades, Wheel of Fortune, balloon darts, and other games. I didn’t have a Wheel of Fortune game, and couldn’t seem to track one down among any of my friends, so I made my own (of course). I just taped little pieces of paper over the letters written on a chalkboard, and the girls took turns spinning a little spinner to win another Starburst before they guessed a letter.

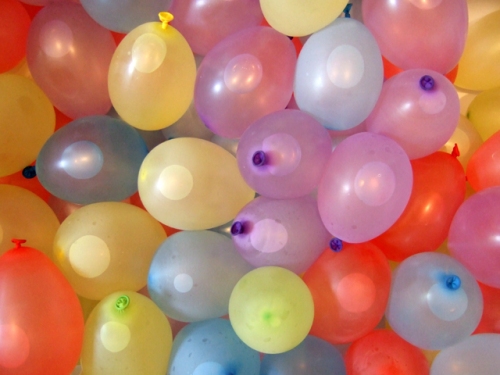
The girls also enjoyed hitting water balloon piƱatas, an idea from Scrap Happy Heather that I discovered via Pinterest. I hung the balloons from a rope tied between two trees, and the girls took turns whacking the balloons with a bat. With a camera in my hand, I made sure I stayed out of the splash zone!

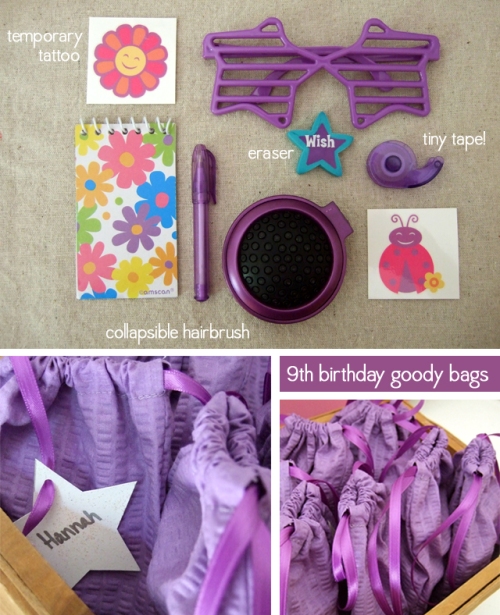
At the end of the treasure hunt, the girls found drawstring goody bags full of fun little trinkets that almost made me wish I were a nine-year-old again.

stitched photo note cards

3 Comments

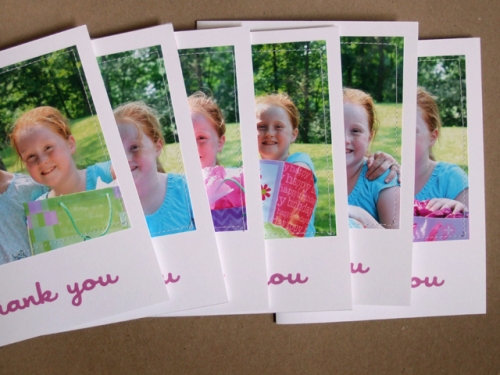
Call me old fashioned, but I still believe in the value of a handwritten thank you note, whether it’s for a gift or a kind deed. Friends who celebrate your 9th birthday in the backyard and grandparents who send gifts from a distance all deserve to be thanked for their generosity.

During Magen’s birthday party, we snapped a photo of her with each of her friends just before she opened their gift. Then I printed out the photos, trimmed them, and stitched each one to a piece of cardstock printed with a simple “thank you.” Inside Magen wrote a sweet little note of appreciation.

Family members who live at a distance received cards with our family photo, but the cards with colorful pictures from her party are my favorites. By the way, I made that great big number 9 Magen is holding in the same way I made the giant number 8 last year. It’s just foam core and acrylic paint. So fun!

mini bunting birthday party invitation

3 Comments

Yesterday we mailed out a stack of invitations to a birthday party for a girl who will soon be nine years old. (Didn’t she just turn eight?)

Washi tape and an old-school Dymo label are my envelope embellishments of choice these days, but this was the first time the label has instructed the recipient to PARTY! Inside the envelope, each girl will find a mini party — or at least a sneak preview of the birthday party they’re being invited to.

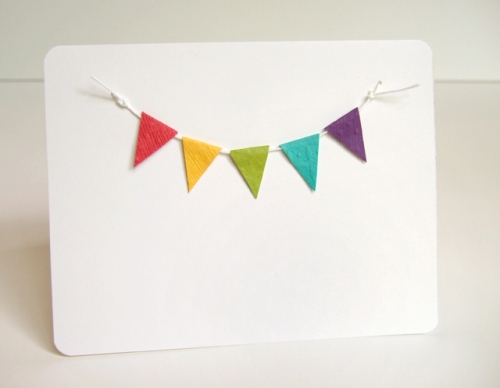
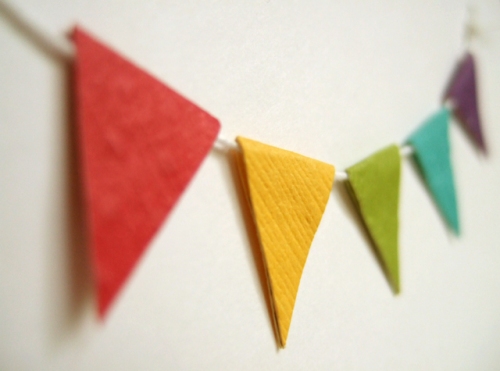
The birthday party invitation is a simple white card with a mini paper flag bunting on the front and party details printed inside. I punched two tiny holes near each of the upper corners and tied on a piece of white crochet cotton. Then I hung the folded pennant flags over the string and glued them together, trying to avoid gluing them to the string.

The tiny flags were cut from sheets of 12×12″ textured cardstock that I bought for 47 cents each. So for less than $2.50, I’ve made six birthday party invitations and about 40 feet of flag bunting to hang at the party (which you’ve actually already seen in progress and in our happy announcement).

I love how the bunting looks when it’s literally tied to the card, but if you have either less time or less patience, stitching the flags to the card would also work just fine.

grow: plan ahead

Leave a comment

Back when 2012 was new and shiny, I chose a word to focus on throughout the year, rather than making traditional New Year’s resolutions. My word is GROW.

One big way I’m striving to grow this year is to procrastinate less. My tendency to procrastinate doesn’t usually mean that I do things too late, but it often means that a lot of the joy is stripped out of the process when I finally do that thing. It’s hard for me to find pleasure in something when I’m hurrying through it, feeling overwhelmed, or — worse yet — feeling guilty for not doing it sooner.

There are a thousand ways procrastination manifests itself in my life, and there are probably an equal number of reasons for my procrastination. And so there are also a thousand different pep talks I have to give myself. One of those is simply, “Plan ahead.”

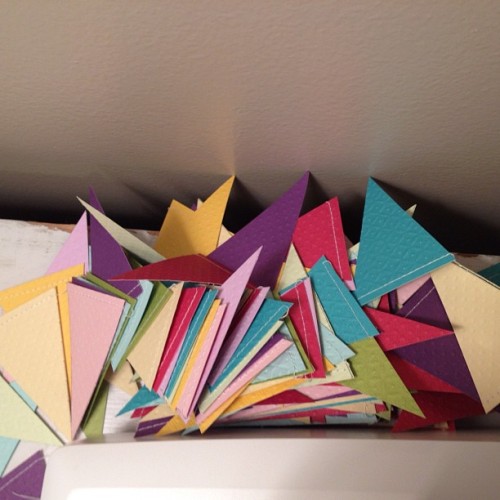
Sometimes I surprise myself by heeding my own advice. After the kids were in bed last night, I found myself stitching together a paper flag bunting for a birthday celebration that is still several weeks away. (Weeks! Not days. Not hours. Weeks!)

Not surprisingly, party prep is a lot more fun when I’m not racing to get everything done in time! I even took the time to snap a couple photos that I posted on Instagram. This is what I found behind the sewing machine after I fed it 220 little brightly-colored triangles.

I’m so accustomed to procrastinating on things like this that now I’m fighting the temptation to go ahead and hang it up right away. I’ll try to wait a few weeks. After all, I haven’t even gotten around to designing the invitations yet…

love more

5 Comments

I’ve dabbled in the art of papercutting for more than a decade. Initially I used patterns I found online, but later I made a few of my own designs. My original work tends to be very simple, such as this tiny papercut I made a couple months ago.

The frame holds a picture that is less than three inches square, so I chose a very short inspirational phrase. I cut the words out of a sheet of white cardstock with my X-Acto knife, making the words and white frame all one continuous piece of paper, which I then mounted on a kraft background.

And now this little papercut sits on the shelf in our laundry room, serving as a frequent reminder to love, love, and love some more. Because really, no matter how much you’re loved, who wouldn’t benefit from more love?

paper Valentine’s Day decorations 2012

Leave a comment

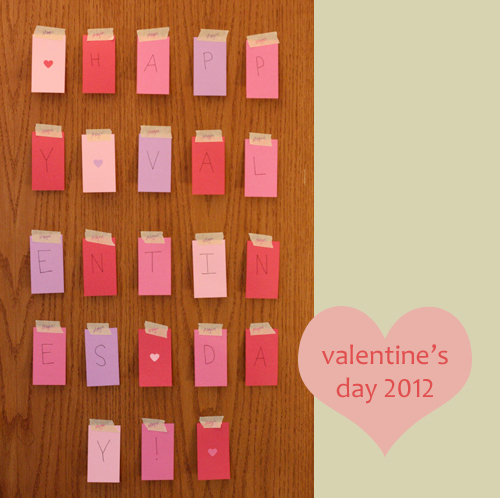
While we were eating breakfast on the morning after Valentine’s Day, the kids asked me whether we would have to take all of our Valentine’s decorations down right away. Feeling like I had just made them, I assured them that we could leave them up for a while. I don’t know how long “a while” is, but tonight, a week after Valentine’s Day, all of my little handmade paper decorations still grace the walls and doors of our home.

I’ll soon take down the heart-themed banners I strung up in our living room and in the kids’ bathroom, and it’s about time to take the heart-shaped confetti off the dining table, but I suspect the decorations I added to the kids’ bedroom doors will stay there for months.

The V-Day message I taped onto Magen’s door was completely inspired by this wall of hearts created by Melanie of You Are My Fave. I cut out a bunch of cardstock rectangles, wrote one letter on each card, and attached them to her door with masking tape.

Across the hall, Hayden’s bedroom door is decorated with the same message in a different shape. I punched out 34 pink and purple circles and wrote one letter on each circle. I originally used double-sided tape to stick them to his door in the shape of a heart, but ended up reattaching some of them with a loop of regular tape after they fell off.

And now I’m just waiting for the day when the kids realize that they can rearrange all those little circles to spell out other messages…

paper ampersand

3 Comments

The ampersand is a wonderful thing. It represents the word “and” — and so much more. An ampersand means that the words that surround it belong together and that they are significant together. Two years ago today, in the midst of a huge Virginia snowstorm, the love of my life surprised me with a ring and a little question that placed a permanent ampersand between our names. I love that ampersand.

I not only I like what an ampersand symbolizes, I also find it to be typographically interesting. It’s elegant and classic and complicated.

When I opened my little online paper goods shop back in the fall, one of the items I chose to offer was a set of gift tags that feature an ampersand. And on Saturday, when I wanted to create something simple to fill an empty 8×10 picture frame, I decided on this green papercut ampersand.

And now that I’ve dusted off my X-Acto knife, I’m busy dreaming up papercuts I want to make. So many hobbies, so little time…

Font: Century Schoolbook. Frame: IKEA.

stripes

Leave a comment

Every once in a while I create things purely for the joy of creating, not because I need something to serve a particular function or purpose. Earlier this week I made a few cards, not because I needed a card or because I have any plans to send them, but just because I was itching to paint and sew and write with a Sharpie.

Of course, if one of these happens to show up in your mailbox, I made it just for you…

Older Entries