a purple birthday party

2 Comments

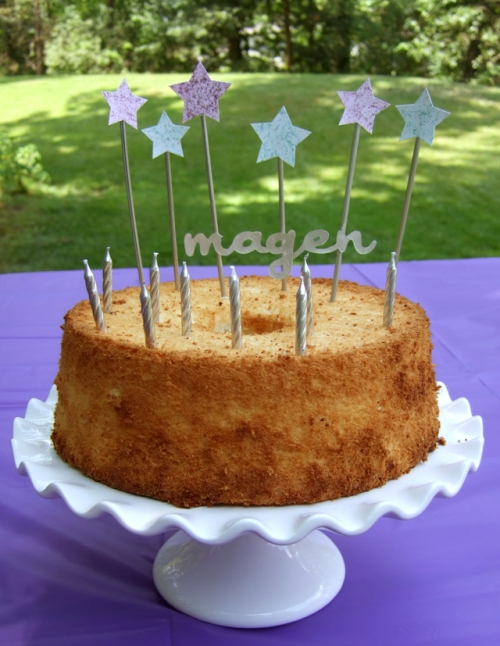
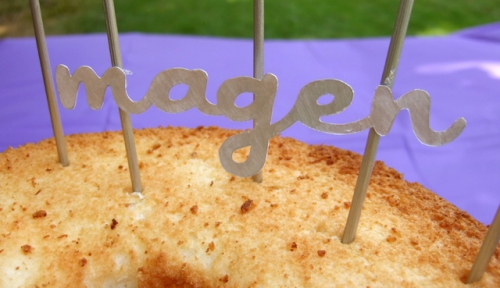
Stars, sparkles, and purple all came together for a fun birthday party for our sweet nine-year-old. Magen’s favorite cake is angel food, which means I didn’t have to attempt any fancy cake decorating (hooray!), but it did add the challenge of coming up with an interesting cake topper. Last year I just used tall spiral candles, but this year I made some sparkly stars with her name (which should have been higher up).

That’s not a custom metal topper — I just cut her name out of card stock with my X-Acto knife and painted it silver. (The font is Japan, which is a nice thick cursive font.)

Magen wanted to do some of the same activities this year that I had planned for her party last year, including a photoshoot with a giant number and a water balloon fight.

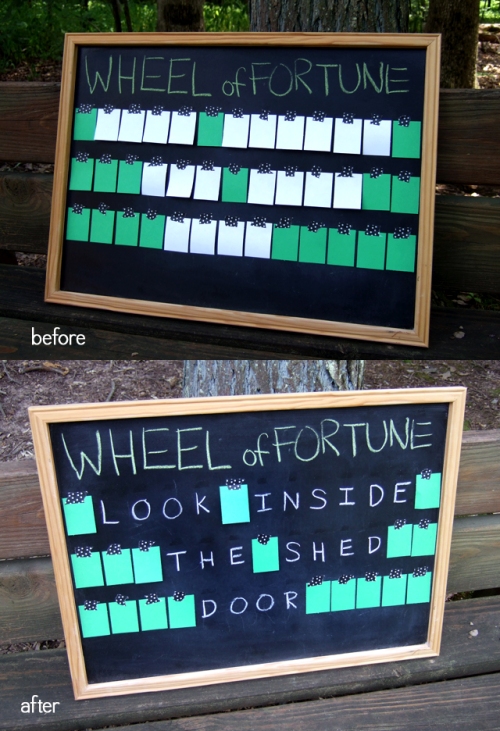
She also requested another treasure hunt, so this year I came up with various activities that would each reveal a clue about where to look for the next clue. It was somewhat complicated to get it all planned out, but also very fun. The girls played charades, Wheel of Fortune, balloon darts, and other games. I didn’t have a Wheel of Fortune game, and couldn’t seem to track one down among any of my friends, so I made my own (of course). I just taped little pieces of paper over the letters written on a chalkboard, and the girls took turns spinning a little spinner to win another Starburst before they guessed a letter.

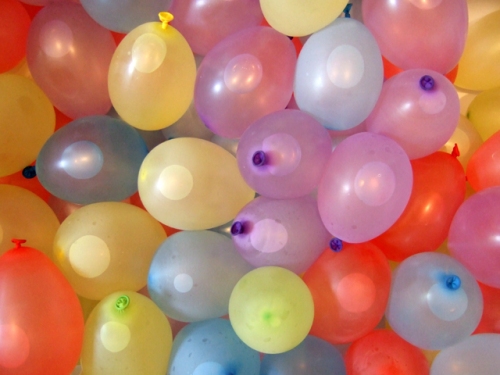
The girls also enjoyed hitting water balloon piñatas, an idea from Scrap Happy Heather that I discovered via Pinterest. I hung the balloons from a rope tied between two trees, and the girls took turns whacking the balloons with a bat. With a camera in my hand, I made sure I stayed out of the splash zone!

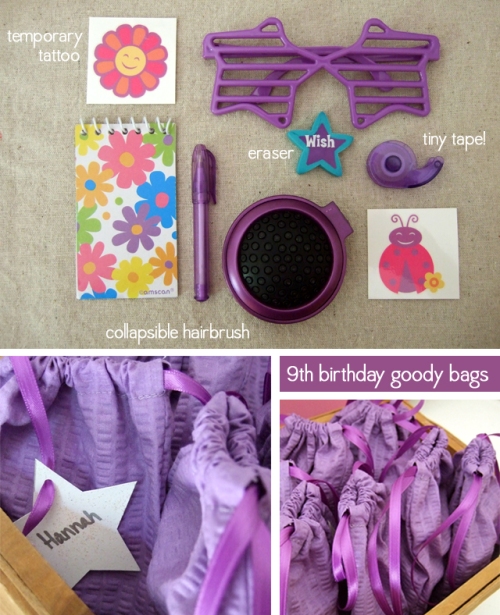
At the end of the treasure hunt, the girls found drawstring goody bags full of fun little trinkets that almost made me wish I were a nine-year-old again.
project: sixteen zippers – number 1

Leave a comment

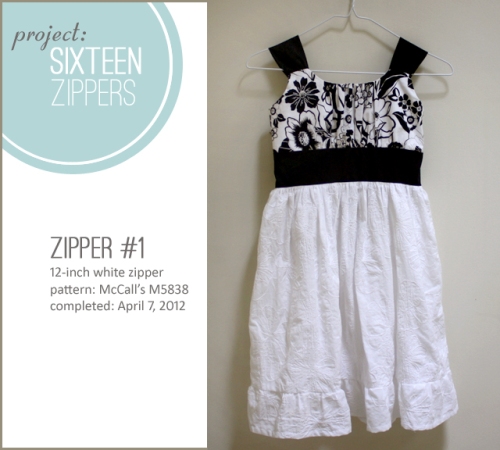
Little girls look so sweet in sundresses with ruffles, and Magen is no exception. This black and white dress is the first garment I sewed for project: sixteen zippers — an effort to use up the zippers I have been accumulating in my sewing stash. I finished it up just in time for Magen to wear it for Easter a few weeks ago.

I love the fabric the skirt is made out of. The white-on-white stitched floral pattern gives the skirt texture and interest without making the dress look too busy.

One down, fifteen to go!

vinyl foot

Leave a comment

Way back in September 2010, a very tiny miracle occurred, but I didn’t realize it until Monday evening. When I sat down at my sewing machine with some fabric and a square of vinyl, I was amazed to realize that I just happened to have the absolute best tool for the job. I mean, I knew I had it, but I had no idea just how much I would need and appreciate it!

You see, one September evening, I bought a sewing machine that came with nine different presser feet. (For those of you who don’t sew, a presser foot is the part of the sewing machine that lightly clamps down and holds the fabric against the feed dogs, which pull the fabric through as you sew.) It doesn’t seem like you’d need a lot of different kinds, right? My previous machine only had two presser feet — a regular foot and a zipper foot — and I never felt like I needed more, so these seven extra presser feet seemed like an unnecessary bonus.

Then again, I had never tried to sew vinyl. A regular presser foot would tend to stick to the vinyl and grab on to it as it gets pulled through the machine, causing the seam to get all bunched up. But a non-stick glide foot? Perfection.

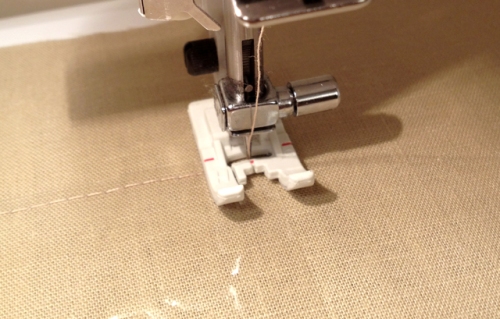
You can’t see it in the picture, but the bottom side of this plastic presser foot has a special coating that allows it to glide right over the vinyl. It’s designed specifically for sewing foam, vinyl, plastic, or leather, and technically it’s called a “non-stick glide foot,” but since I’ve only used it for vinyl so far, I like to call it my vinyl foot.

I never had an excuse to sew vinyl until this week, when I was making a drawstring bag to hold a game that Magen created for a school project. We wanted to have the name of the game on the outside of the bag, but instead of having her decorate the bag with fabric markers, I offered to attach a drawing to the bag by enclosing it behind a vinyl window.

Ta-da! It worked out exactly as I hoped.

Here’s the whole bag, just for perspective.

And here’s a detail shot, just because I like neat rows of stitching.

Have you ever sewn vinyl? Did you have a special presser foot for your machine, or did you just cover the bottom of your regular foot with a layer of scotch tape? Most importantly: have you ever gotten this excited about a presser foot?!

project: sixteen zippers // finally getting started

2 Comments

Shortly after the new year began, I eagerly kicked off project: sixteen zippers when I discovered that my stash of sewing notions contains sixteen brand new zippers that deserve good homes in wearable garments.

Several months later, I’ve finally started on the first one — a dress made of black, white, and black and white fabric. (Oxford comma, how I love thee.) So tonight I’ve been cutting…

sewing…

and keeping my fingers crossed that the dress will fit the sweet girl who’s sound asleep upstairs.

tiny tote bag

Leave a comment

The American Girl doll who lives in our house seems to be acquiring more new clothes and accessories than I am these days. Now she can carry all of her daily essentials in this snazzy little tote bag. Purple floral fabric isn’t my personal style, so it was fun to use a bit of it to sew a tiny tote bag for Mia.

(For the record, I used the tote bag pattern included in McCalls M5775, but I used braiding that is wider than specified, so I had to fold it in half to feed it through the casing.)

project: sixteen zippers

4 Comments

I never intended to start a zipper collection.

When I buy a zipper, I purchase a specific length in a specific color to go with specific fabric for a specific garment or project. Sometimes I end up not sewing the item I envisioned. It happens, right? Yes. But in my life, it happens too often. Somehow, over the past decade, I have bought 16 zippers that I have never removed from their packaging. Sixteen!

In my defense, about half of those have been purchased in the past year, and I still have every intention of making the garments that they are intended for. But there are others whose original purpose I can’t even remember. When I discovered recently that I had 16 brand spankin’ new zippers in my stash, I knew it was time to do a little more sewing and a little less shopping at Jo-Ann.

And so, project: sixteen zippers is the story of my accidental zipper collection and the garments they will be sewn into as this little adventure unfolds.

Let’s meet the cast of characters:

The 7-inch zippers are the most predictable and least intimidating, as they are all destined for skirts. They all happen to be very basic colors like black, white, brown, gray, and navy.

The rest of the zippers are a bit more interesting and unexpected. Twelve-inch lilac? Fourteen-inch dark teal? Don’t worry, the three white zippers in this bunch will keep things from getting too crazy. Almost all of these longer zippers were purchased within the past year, and I think all but one are intended for dresses, either for me or for Magen. Dresses make me nervous.

So that’s what I have to work with.

I’m eager to reduce the number of zippers in my accidental collection (and use up some of my fabric stash!) as I work my way through project: sixteen zippers. And of course I’ll be glad to add more skirts and dresses to my wardrobe. I’ll be sure to show you each item as I complete it, but don’t expect frequent progress reports. It’s going to take a while to sew sixteen garments with zippers.

I haven’t decided yet which of the zippers I’ll start with, but ideally, I’d like to be wearing that 14-inch teal zipper in about two weeks. Wish me luck!

(I am not affiliated with Coats and Clark, nor have they compensated me for this publicity. However, if they knew anything about this project, I’m sure they’d want to encourage you to start a zipper collection of your own.)

twelve by 2012: 4 down, 8 to go

2 Comments

My twelve by 2012 list doubles as a holiday to-do list, so it’s fun to be making progress.

On Monday we baked cookies (#1), on Tuesday morning we welcomed our Elf on the Shelf (#2), on Tuesday evening I finished creating my only handmade gift (#9), on Tuesday night I baked mini cookies (#1 again!), and tonight I downloaded A Very She & Him Christmas (#8). Hooray for checking things off while enjoying the holiday season!

The handmade gift I created is for my niece, whose American Girl doll is soon going to be sleeping soundly in a cozy fleece sleeping bag. It’s almost identical to this sleeping bag I made for Magen’s doll a couple months ago, but the lining matches that Pepto Bismol pink color in the flowers.

Also, Zippy (our Elf on the Shelf) had a little surgical procedure done tonight that will make him more bendable, but when the effects of the anesthesia wear off, I’m sure he’ll be feeling more adventurous than ever!

a tiny pink flannel nightgown

Leave a comment

Several weeks ago, eight women and girls from our family enjoyed a mother/daughter/grandmother’s daytrip to the American Girl Place in New York City. One week later, I found myself at the fabric store, carefully selecting a variety of fabrics and snatching up a bunch of patterns (McCall’s for a dollar!) to sew some doll clothes.

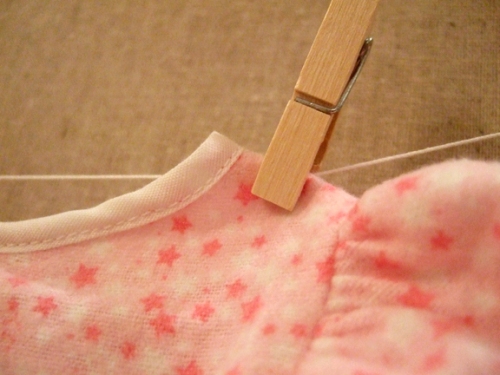
Don’t be fooled by the miniature clothespins — the tiny flannel nightgown I sewed measures only 11 inches from shoulder to hem. It looks so cozy that I almost wish it were my size, but instead, it’s for an American Girl Doll named Mia who you met back in June.

The pattern I used is McCall’s M6137. I spent a dollar for the pattern and $3.50 for the adorable pink flannel fabric.

This sweet little nightgown is one of my favorite things I’ve ever sewn.

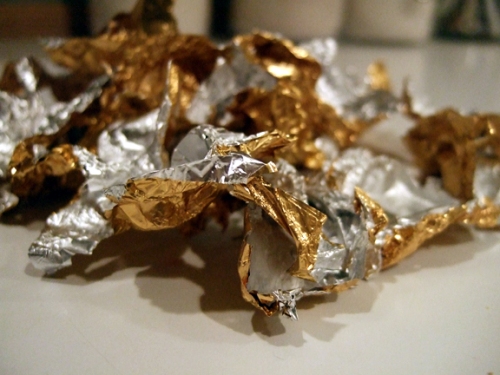
ooh, shiny!

Leave a comment

I’ve had an extra burst of creativity over the past few days, so I’ve been having fun making all kinds of things. Tonight’s accidental theme: SHINY!

First this:

Then this:

What about you? Did you make anything today?

a brightly colored felt pennant bunting

Leave a comment

Now that Magen is 8 years + 2 weeks old, I figured it was finally time to get out the ladder today and take down the felt pennant bunting I strung up to celebrate her big day.

To make the bunting, I went to JoAnn Fabric and Crafts and selected four colors of felt in coordinating colors. I bought felt off the bolt, but if you’re making a much smaller bunting, you could just purchase a few small sheets of felt that are available in a wider variety of colors.

I purchased eight inches of felt in four colors — fuchsia, yellow, peacock, and orchid, according to my receipt. The felt was 72 inches wide, and each piece cost me just $1.11. I also bought a couple rolls of ribbon and used a coupon for the purchase, so the total cost of the bunting was $5.06.

Back at home, I laid out the strips of felt and immediately wished I had a rotary cutter. Instead, I made a triangular template out of cardboard (the top was 5″ wide) and used it as my guide for marking the diagonal cutting lines on the felt. I used my good sewing scissors to cut out the triangles, and it really wasn’t too bad.

My final step was to stitch the triangles together by laying a piece of ribbon across the top of the felt triangles and running a straight stitch down the length of the ribbon.

Ta-da! Fifty feet of bunting!

(Too bad I didn’t realize that my photo was a little blurry until after I took down the bunting…)

Older Entries